How to Choose an Automated Welding Machine in 2026?

Choosing an automated welding machine in 2026 starts with the job, not the brochure. Define the materials, joint designs, weld positions, and production volume you need to handle. A machine suited to thin stainless-steel enclosures may struggle with thick structural parts. Small details matter. Record current cycle times, rework rates, and operator tasks before comparing systems.

Next, assess process capability and how the equipment will fit your production line. Check whether the machine supports the required welding process, torch access, fixture changes, and part tolerances. Review its controls, sensors, and data features, but ask what each one improves in measurable terms. A faster cycle is useful only when weld quality stays consistent. That is not enough. Request sample welds made from your own materials, then inspect them against your quality requirements. Also confirm installation needs, training, spare-part availability, and service response times.

The strongest choice balances weld performance, uptime, operator usability, and total ownership cost. Compare realistic costs for integration, maintenance, consumables, and downtime—not just the purchase price. Ask suppliers for documented specifications and references from applications similar to yours. Then verify the claims with a production trial. It rarely is a perfectly clean comparison: old fixtures, uneven part quality, or limited floor space can change the result. A careful selection process leaves room for those constraints and makes trade-offs visible before investment.
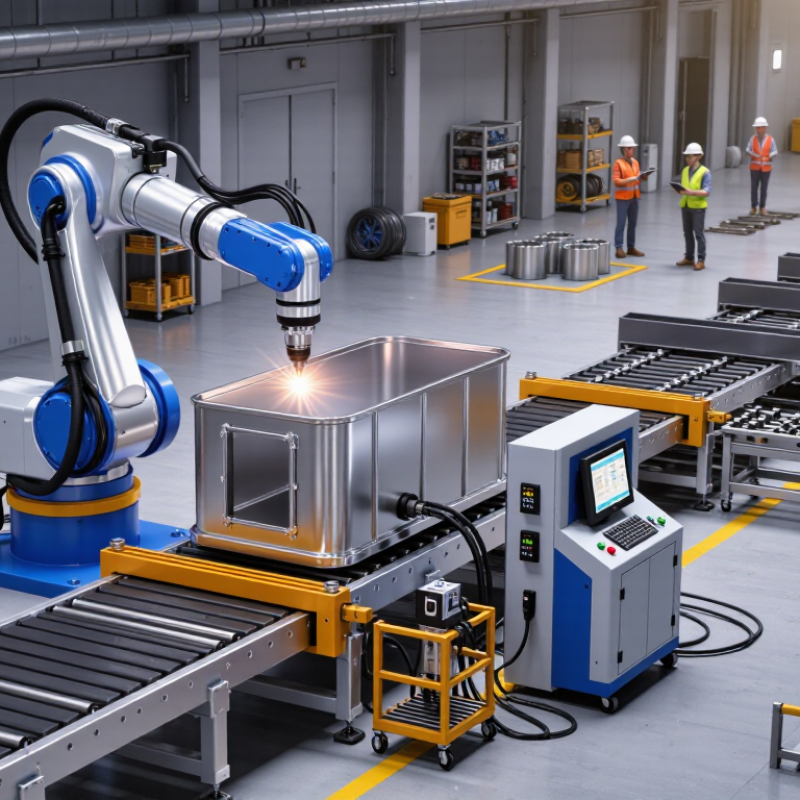
How to Choose an Automated Welding Machine in 2026?

Define Production Needs, Materials, and Welding Requirements

Choosing an automated welding machine starts with production reality, not a headline cycle-time figure. Record daily volume, shift length, part changes, and acceptable downtime. Note whether components arrive consistently positioned or need manual adjustment. A robot cannot correct a poor fixture. Fit matters. The International Federation of Robotics reported 4,281,585 industrial robots in operation worldwide in 2023, in World Robotics 2024. That figure covers many applications, not welding alone, but shows automation is established across manufacturing.

Next, define materials and weld requirements precisely. List each alloy, thickness range, joint type, weld position, and required inspection standard. A thin aluminum part may need different heat control than a thick carbon-steel frame. Confirm whether the process and torch access suit the actual joint, including corners and hidden seams. The American Welding Society’s workforce outlook estimated that 360,000 welding professionals would be needed in the United States by 2027. Treat that as a forecast, not a guarantee; it can still help frame labor planning. Test representative parts with production fixtures, then inspect penetration, spatter, distortion, and cycle consistency. A clean sample is not enough. I would also test a less-than-perfect part, because real batches rarely stay perfect.
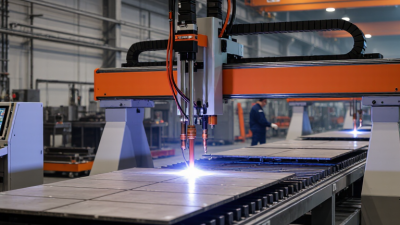
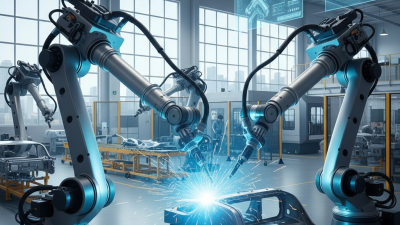
Match the Welding Process to the Workpiece and Joint Design

How to Choose an Automated Welding Machine in 2026?
Match the Welding Process to the Workpiece and Joint Design

An automated welding machine should suit the workpiece, joint, and production rhythm—not just its advertised speed. For thin stainless sheet, controlled TIG welding can help limit burn-through and produce a neat bead, though cycle times may be slower. For repeatable fillet or lap welds on thicker parts, wire-fed GMAW often supports higher deposition and steady output. Resistance spot welding suits overlapping sheet joints; it does not create a continuous seam. Laser welding can suit precise, accessible joints, but gaps and alignment need close control.

Joint geometry matters as much as material. A robot may struggle to reach a tight corner, while a simple fixture can make a repeatable seam much easier. Check the part’s thickness, coating, edge preparation, and expected fit-up before selecting a process. A common shop-floor mistake is choosing a fast process before confirming that parts arrive consistently. Fit-up matters. Ask suppliers to test representative parts, including awkward joints and normal production variation. A clean sample weld is useful, but repeatable results across a full run matter more.

Tips: Bring real workpieces and drawings to trials. Check access, bead consistency, and changeover time. Test real parts. Do not guess.

Compare Machine Types, Automation Levels, and Key Specifications

Choosing an automated welding machine starts with the joint, not the robot. A mechanized carriage can follow long, straight seams on tanks or frames. A robotic cell suits repeatable parts with several weld paths. A collaborative robot may fit smaller batches, but it still needs suitable fixtures and risk assessment. That matters.

Automation level should match production variation. Basic systems control travel speed and torch position, while advanced cells can use seam tracking, automatic part handling, and programmed job changes. If operators frequently adjust fit-up by hand, full automation may not deliver consistent results. Run sample parts using your actual material, joint design, and weld position. The result can be humbling.

Compare specifications that affect the real job: process compatibility, welding current range, duty cycle, torch reach, payload, repeatability, and wire-feed control. Check whether the machine can reach the far side of your largest workpiece without repositioning. A compact cell may save floor space but limit access. Ask for cycle-time data under production conditions, not just a best-case demonstration. Confirm fixture needs, maintenance access, and operator training before deciding. A small mismatch can become a daily delay.

How to Choose an Automated Welding Machine in 2026?

Compare machine types, automation levels, and key specifications

The chart shows representative current ranges commonly encountered in automated GMAW, GTAW, FCAW, and SAW setups; actual requirements vary with material, thickness, wire or electrode, and procedure. Mechanized carriages suit repeatable straight seams, robotic cells offer flexible multi-axis welding, and dedicated automated lines prioritize high-volume production. Compare the required current and duty cycle with your application, then match the machine’s automation level to part consistency, throughput, and operator skills.

Assess Safety, Integration, Support, and Future Expandability

How to Choose an Automated Welding Machine in 2026?

Assess Safety, Integration, Support, and Future Expandability

Safety is more than an emergency stop. Check guarding, interlocks, fume extraction, and safe access for setup and maintenance. OSHA’s industrial robot safety guidance highlights hazards linked to robot motion, installation, programming, and servicing. Review those risks with the people who will operate the cell. The International Federation of Robotics reported 4,281,585 industrial robots in operation worldwide in 2023, up 10% from 2022. That growth makes maintainable, well-integrated systems increasingly relevant. But a larger robot count does not prove that every automated cell is a good fit.

Integration needs a practical test. Confirm that the machine can exchange signals with your fixtures, production controls, and quality records. Ask for a live trial using your actual joint, material, and cycle requirements. Deloitte and MAPI’s 2024 Smart Manufacturing Survey found that 86% of manufacturing executives expected smart manufacturing to be a primary competitiveness driver within five years. Treat that as a direction, not a guarantee. Check who handles commissioning, spare parts, software updates, and operator training. A low purchase price can feel less attractive when support is slow. It happens.

Validate Performance and Calculate the Total Cost of Ownership

For a 2026 purchase, validate the welding machine on parts that match your production work. A showroom demonstration may look convincing, but your joint geometry, material thickness, and fit-up provide better evidence. Run real parts. Record cycle time, weld consistency, spatter, and rework across several production runs. One perfect test coupon does not prove stable performance. Check how results change with worn consumables, operator adjustments, and small variations in part positioning. Use your own inspection criteria, too.

Calculate total cost of ownership beyond the purchase price. Include tooling, safety equipment, integration, programming, and commissioning. Add expected spending on wire, shielding gas, electricity, maintenance, spare parts, and operator training. Downtime belongs in the calculation: estimate the cost of a torch change, equipment fault, or delayed fixture. Compare the cost per accepted weld, not just the machine’s hourly output.

Use realistic annual production volumes and conservative uptime assumptions. Small assumptions matter. A faster cycle may not lower costs if it increases rework or requires extra support. Keep the trial results and cost estimates together, then revisit them when production data differs from the forecast. Estimates are rarely tidy, and that uncertainty deserves attention before approval.

How to Choose an Automated Welding Machine in 2026? - Validate Performance and Calculate the Total Cost of Ownership

Use this scorecard to compare automated welding systems against the same part, weld procedure, production schedule, and quality requirements. Set acceptance limits before requesting quotations or running trials.

Evaluation Dimension What to Measure How to Validate Decision Rule / Data to Record
Performance and Process Fit
Weld quality Conformance to the drawing, approved weld procedure, and applicable acceptance criteria. Weld representative production parts using the intended material, joint preparation, position, and process. Inspect using the required visual, dimensional, and non-destructive testing methods. Record pass/fail results by weld and defect type. Accept only when the agreed quality criteria are met.
Production output Completed parts per hour, including loading, clamping, welding, repositioning, and unloading. Time a representative production cycle under the planned operating method. Separate weld time from handling and changeover time. Compare verified good parts per scheduled hour with the required production rate; do not use weld travel speed alone as the output measure.
Repeatability and part fit-up Robot or machine repeatability, fixture locating variation, joint-gap variation, and resulting weld-position variation. Review the equipment specification and measure repeated production setups and weld locations. Robot repeatability is not the same as overall process accuracy. Confirm that the complete system—not just the robot—holds the drawing and weld-position tolerances across the expected part variation.
Arc-on time and cycle balance Arc-on time as a share of total production cycle time. Calculate: arc-on time ÷ total cycle time × 100%. Include cleaning, wire changes, repositioning, loading, and pauses in the cycle. Use the measured cycle breakdown to identify whether the constraint is welding, handling, fixture access, or changeover.
Uptime and availability Scheduled production time, operating time, and unplanned downtime. Calculate availability as operating time ÷ scheduled production time × 100%. Log faults, recovery time, and planned maintenance separately. Compare candidates using the same schedule and downtime definitions; verify service response and spare-parts arrangements.
Changeover flexibility Time and resources required to switch between part numbers, fixtures, programs, or welding procedures. Run a changeover using the expected production sequence. Record operator involvement, program changes, tooling changes, and first-part approval time. Check that changeover time and required skills fit the planned batch sizes and product mix.
Safety and integration Required guarding, interlocks, fume extraction, electrical connections, utilities, and line interfaces. Complete a site-specific risk assessment and review the machine layout, safety functions, utility requirements, and applicable local regulations. Include all required safeguarding and facility modifications in the project scope and cost estimate.
Total Cost of Ownership (TCO)
Initial investment Machine, robot or motion system, power source, torch, fixtures, positioners, controls, and required options. Use itemized supplier quotations with a clearly defined scope and exclusions. Compare equivalent system configurations; do not compare machine-only prices with fully integrated cell prices.
Integration and commissioning Engineering, programming, installation, safety equipment, facility work, line integration, acceptance testing, and training. Request separate estimates for one-time project costs and identify customer-supplied work, schedule assumptions, and acceptance criteria. Include all costs necessary to achieve a production-ready, accepted system.
Operating consumables and energy Wire or filler metal, shielding gas, contact tips, nozzles, liners, electricity, and extraction-related energy. Measure or estimate consumption using the same qualified weld schedule and production volume. Record units and unit prices separately. Calculate annual cost as verified consumption per good part × forecast annual good parts × applicable unit price.
Labor and maintenance Operator and technician hours, preventive maintenance, replacement parts, service contracts, and training refreshers. Estimate staffing from the planned operating method. Use maintenance schedules and service terms to identify recurring labor and parts costs. Separate routine maintenance from corrective repairs, and state labor rates and service assumptions.
Downtime, rework, and scrap Lost production time, rejected parts, rework hours, and material consumed by nonconforming output. Use pilot-trial results where available. Calculate the cost of downtime from the site's documented production or recovery-cost method. Use consistent quality and downtime definitions for every candidate; avoid counting the same loss in multiple cost categories.
Residual value and analysis period Evaluation period, expected resale or residual value, and discount rate if using present-value analysis. Agree on the same analysis period and financial assumptions for all alternatives. Document the basis for any residual value. Do not treat an assumed resale value as guaranteed; show the assumption separately.
Comparable TCO and cost per good part Present-value lifetime cost and cost per accepted part. Discounted TCO = initial investment + Σ(yearly operating and ownership costs ÷ (1 + discount rate)year) − discounted residual value. Cost per good part = TCO ÷ total accepted parts over the same period. Compare candidates using the same production volume, quality assumptions, analysis period, discount rate, and included cost categories.

Record trial conditions, measured results, quotation assumptions, and exclusions. Performance targets and acceptance limits are application-specific and should be agreed with the production, quality, safety, and finance teams before selection.

Contact Us